How To Remove Shellac At Home: 8 Easy Steps

Are you wondering how to remove Shellac gel polish at home without compromising your nail health? You're not alone. Shellac, a popular brand of gel polish, offers long-lasting manicures, but proper removal is key to maintaining healthy nails. Whether you're between salon visits or prefer managing your nail care routine at home, this comprehensive guide will walk you through the process of safe gel removal while protecting your natural nails.
Understanding Shellac Polish
What is Gel Nail Polish?
Gel polish represents a revolutionary advancement in nail care technology, combining the best features of traditional nail polish and gel formulations (Shellac is the actual brand name for gel polish types, curated by Creative Nail Design CND). Unlike regular nail polish that chips easily, gel offers exceptional durability, and that coveted salon-fresh shine for weeks. The unique gel layer creates a robust protective coating over your nail plate, making it a popular choice for those seeking long-lasting manicures.
Why Does Professional Gel Polish Removal Matter?
When it comes to removing gel, proper technique is crucial. While a nail technician at your local salon is trained in professional removal methods, learning to remove gel polish safely at home can save time and money. However, improper removal can damage your nail bed and cuticles, leading to weakened nails and potential infection risks. Understanding the correct process helps maintain healthy nails while ensuring effective polish removal.
Essential Tools and Materials
From Acetone Nail Polish Remover To Cuticle Oil: Your DIY Gel Removal Kit
Before you begin to remove gel polish, it's crucial to gather all necessary tools and materials. Having everything prepared ensures a smooth process when you need to place the cotton and soak it for 15 minutes during the removal procedure.
Essential Items:
- Pure acetone or specialised acetone nail polish remover (100% pure acetone works best)
- Cotton wool or cotton pad options (you'll need enough to create an acetone-soaked cotton pad for each nail)
- Aluminium foil squares (pre-cut into 3x3 inch pieces)
- A nail file (medium-grit) and nail buffer (to gently buff the surface)
- An orange wood stick or cuticle pusher (to gently push away remaining polish)
- Nourishing cuticle oil (for post-removal care)
- Gentle soap for cleaning
- Hand moisturiser for after-care
- A protective towel for your work surface
- Small bowl for acetone (optional)
- Nail clipper (optional)
- Hand towel for cleanup
Quality Considerations:
- Acetone: Invest in professional-grade pure acetone rather than regular nail polish remover for more effective removal
- Cotton Materials: Choose lint-free options to prevent residue while removing polish
- Foil: Use medium-weight foil that holds its shape when wrapped around fingertips
- Buffer and File: Select a professional-grade nail file and buffer that allows you to buff gently without causing damage
- Cuticle Oil: Pick a nourishing formula with vitamin E or jojoba oil
Storage Tips:
- Keep all materials in a dedicated container
- Store acetone in a cool, dark place
- Replace files and buffers regularly
- Check cotton supplies before starting
- Maintain clean, dry tools
Having these items readily available not only makes the process more efficient but also ensures you won't need to interrupt the procedure once you've started. Remember that quality tools make a significant difference in both the removal process and the health of your natural nails.
Transform Your Home Nail Station
Create your perfect nail care space with our professional nail tools range. We've got everything you need for safe gel removal at home. Check out our collection today!
8 Easy Steps To Remove Shellac At Home
While these steps allow for safe at-home removal, professional removal is always preferable for maintaining nail health. However, when salon visits aren't possible, follow these expert-recommended steps carefully.
Step 1: Gather Your Materials
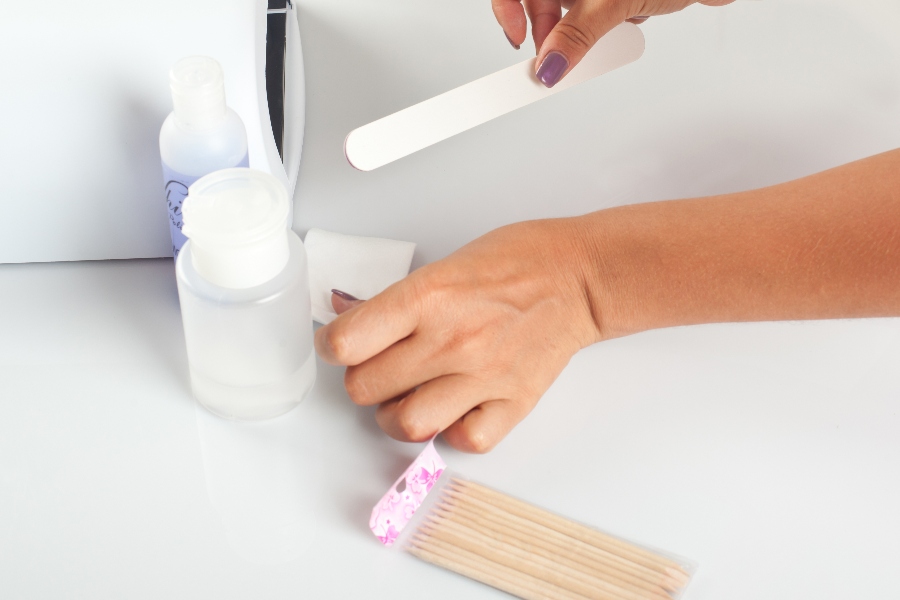
You'll need acetone polish remover (at least 60% acetone) or pure acetone, cotton balls or pads, aluminium foil squares, a cuticle pusher (wooden preferred), a nail file, and moisturising products. Keep your hair tied back to prevent it from getting in the way during the removal process. Having everything prepared before starting ensures a smoother process.
Step 2: Break the Seal
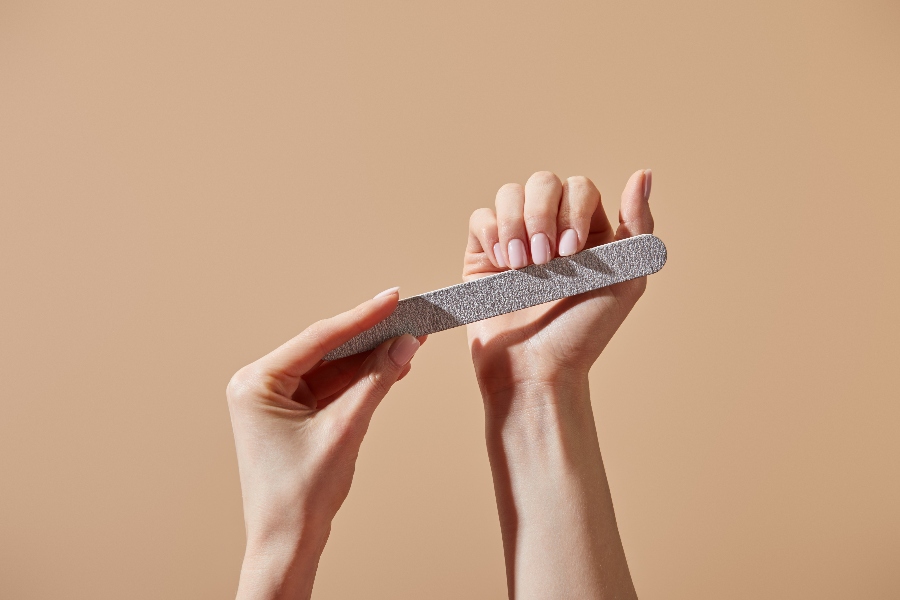
Never bite or pop off your polish – this severely damages nails. Instead, gently file the shiny surface until it becomes opaque. Work slowly and carefully across each nail. A softer cardboard emery board is preferable to a metal file, as it helps prevent over-filing. You only need to break the shiny layer or topcoat seal, allowing the acetone to penetrate effectively.
Step 3: Work One Hand at a Time
Cut five pieces slightly larger than your nails. Start with one hand first. Then, soak a cotton ball in acetone polish remover for each nail, ensuring it's saturated but not dripping. This methodical approach helps maintain consistent soaking time and prevents acetone from drying out before it can work effectively.
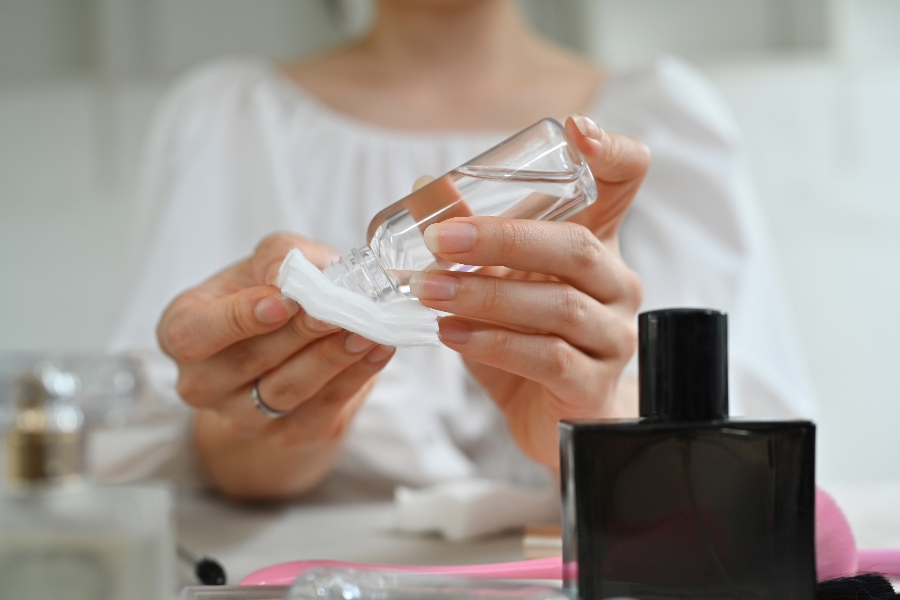
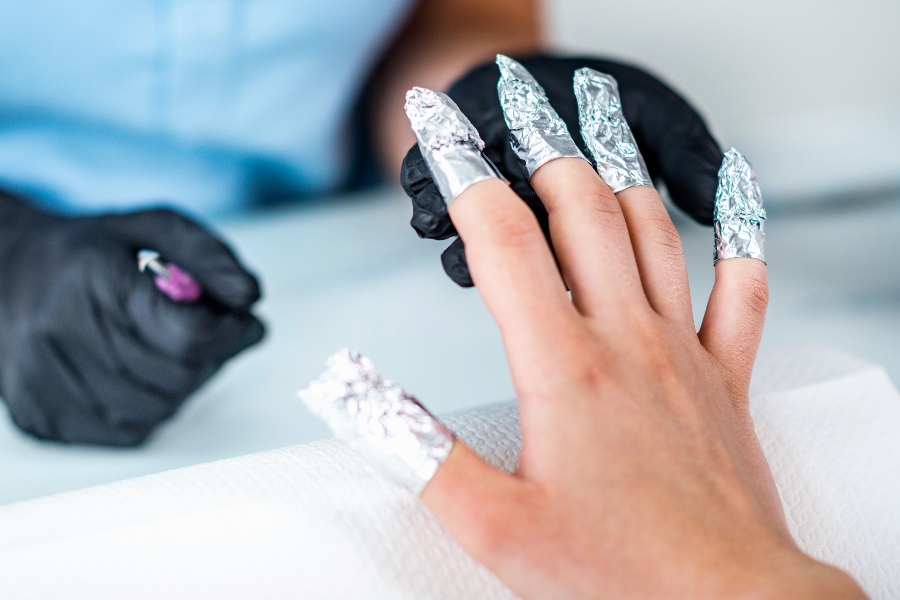
Step 4: Prepare and Apply
For each finger, place a fully saturated cotton piece over the nail, then wrap it with foil to secure it. The cotton should be just large enough to cover the nail completely. Work one finger at a time, ensuring each wrap is secure. Remember, proper contact between the soaked cotton and the nail surface is crucial for effective removal.
Quality Cotton Makes a Difference
Using the right cotton can make or break your gel removal success. Our professional-grade cotton/wipes collection is specially designed for optimal acetone absorption and lint-free application. Shop now!
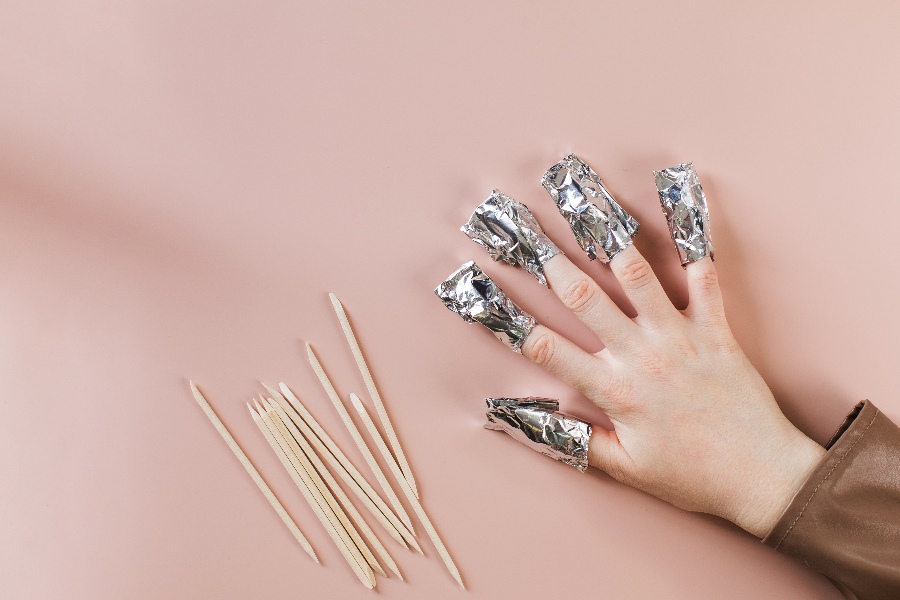
Step 5: Soak Patiently
Let your nails soak for 10 to 15 minutes until you see the polish beginning to lift. Don't check progress prematurely – patience here prevents nail damage. If some polish remains stubborn after the initial soak, you can rewrap those nails for additional time rather than forcing removal.
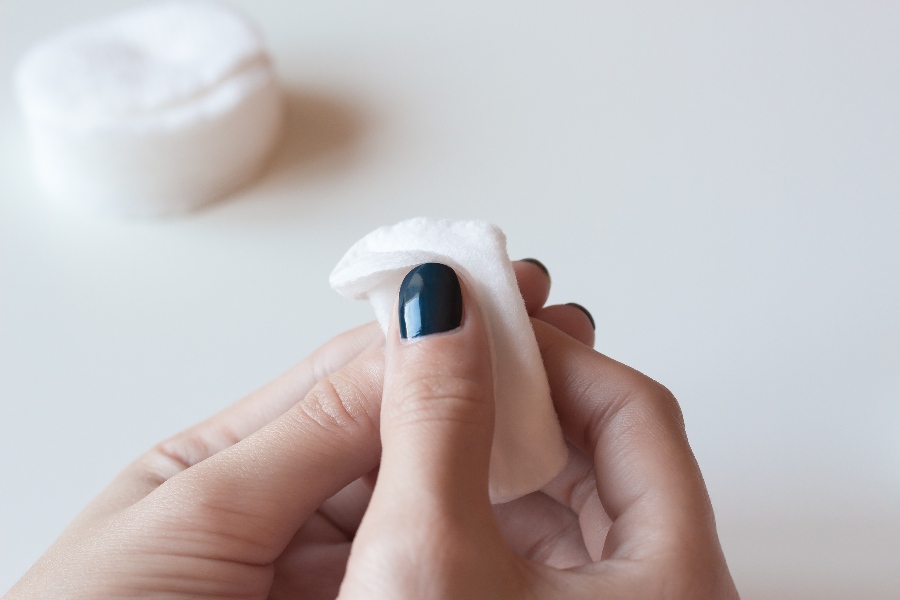
Step 6: Remove Gently
Using your cuticle pusher (wooden is gentler than metal), gently lift the loosened polish from the nail bed. If you need to gently scrape any resistant areas, work from cuticle to tip with minimal pressure. For stubborn spots, resoak rather than forcing removal – this helps prevent damage that would need to be scraped away later.
Step 7: Buff and Clean
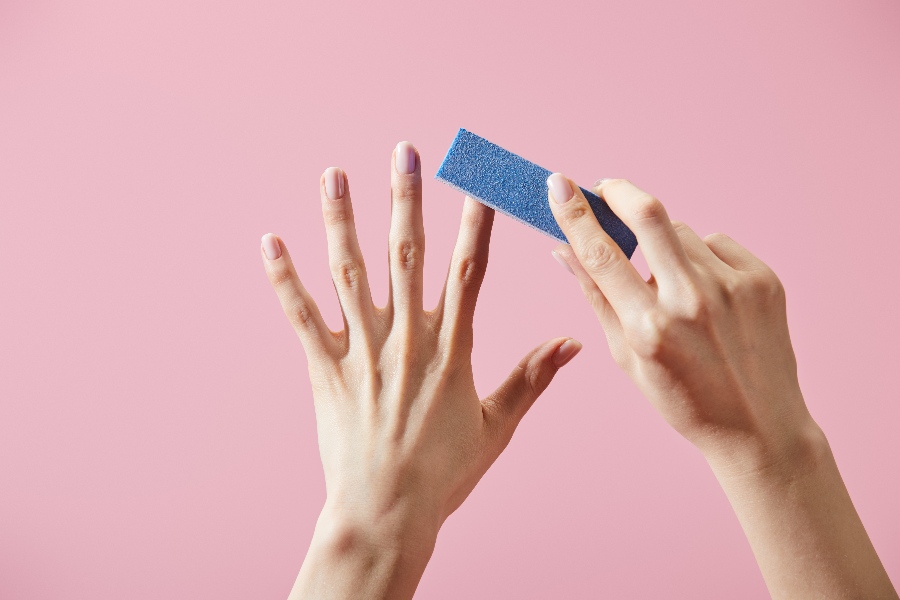
Using a soft nail buffer (not an emery board), buff the surface of your nails to remove any remaining product and smooth out the natural nail surface. This careful step helps remove residual adhesive while preparing nails for moisture treatment. Trim and file if needed, then wash your hands thoroughly with soap and water.
Step 8: Moisturize and Protect
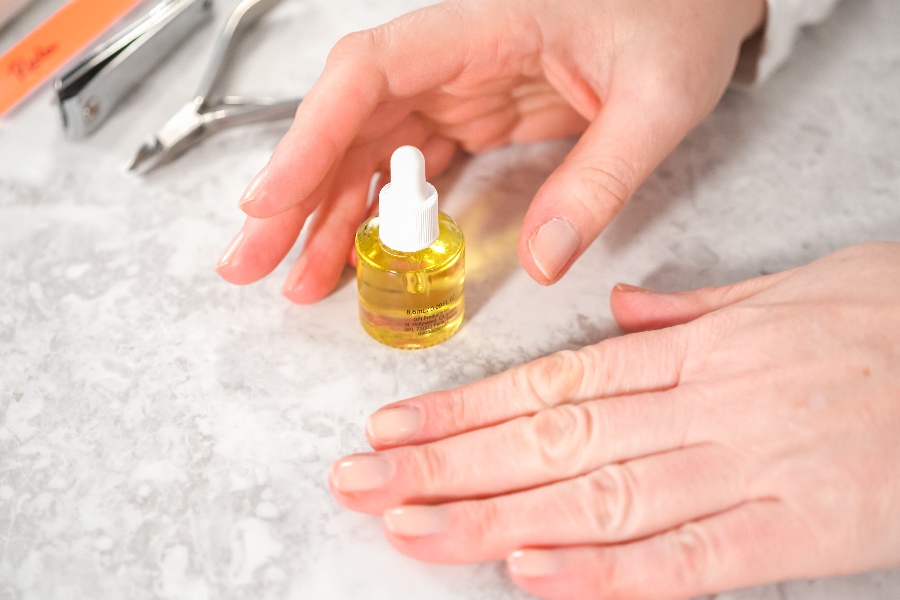
Your nails need moisture after acetone exposure. Apply cuticle oil generously to hydrate both nails and cuticles. Follow with quality hand cream, paying special attention to any skin areas where the polish was scraped away. This nourishing step is crucial for maintaining nail health and preventing brittleness.
Protect Your Nails During Breaks
Ready to give your nails a breather? Explore our nourishing nail treatments collection to maintain healthy nails between gel applications. Explore our collection today!
Your Path to Salon-Quality Results at Home
Removing gel polish at home safely requires patience and the right method. While the process might take longer than picking or peeling (which you should never do!), proper removal techniques protect your natural nails and ensure they remain healthy for future manicures. Remember that practice makes perfect – your technique will improve with each removal session.
Whether you're a regular at the salon or prefer to manage your manicures at home, mastering the art of gel removal gives you more control over your nail care routine. By following these steps and using the right tools, you can achieve professional-quality results while maintaining the health and beauty of your natural nails.
Remember to store your removal supplies together in a dedicated space, making it easier to maintain your nail care routine. With proper care and attention, you can keep your nails looking their best, whether you're removing old polish or preparing for your next manicure.