Nail Charms
3D Detail, Luxe Shine & Statement Nail Art Charms in Minutes
Nail charms add instant 3D detail to nails and pedicures, delivering texture, shine, and a finished look in minutes. Used as a single accent or a small cluster, nail art charms turn simple colour into statement nail art without time-heavy hand painting.
With Diamond Nail Supplies, it's easy to explore the style that suits you; from seasonal motifs that bring the holiday cheer to metallic shapes and crystal nail finishes that add a touch of sophistication.
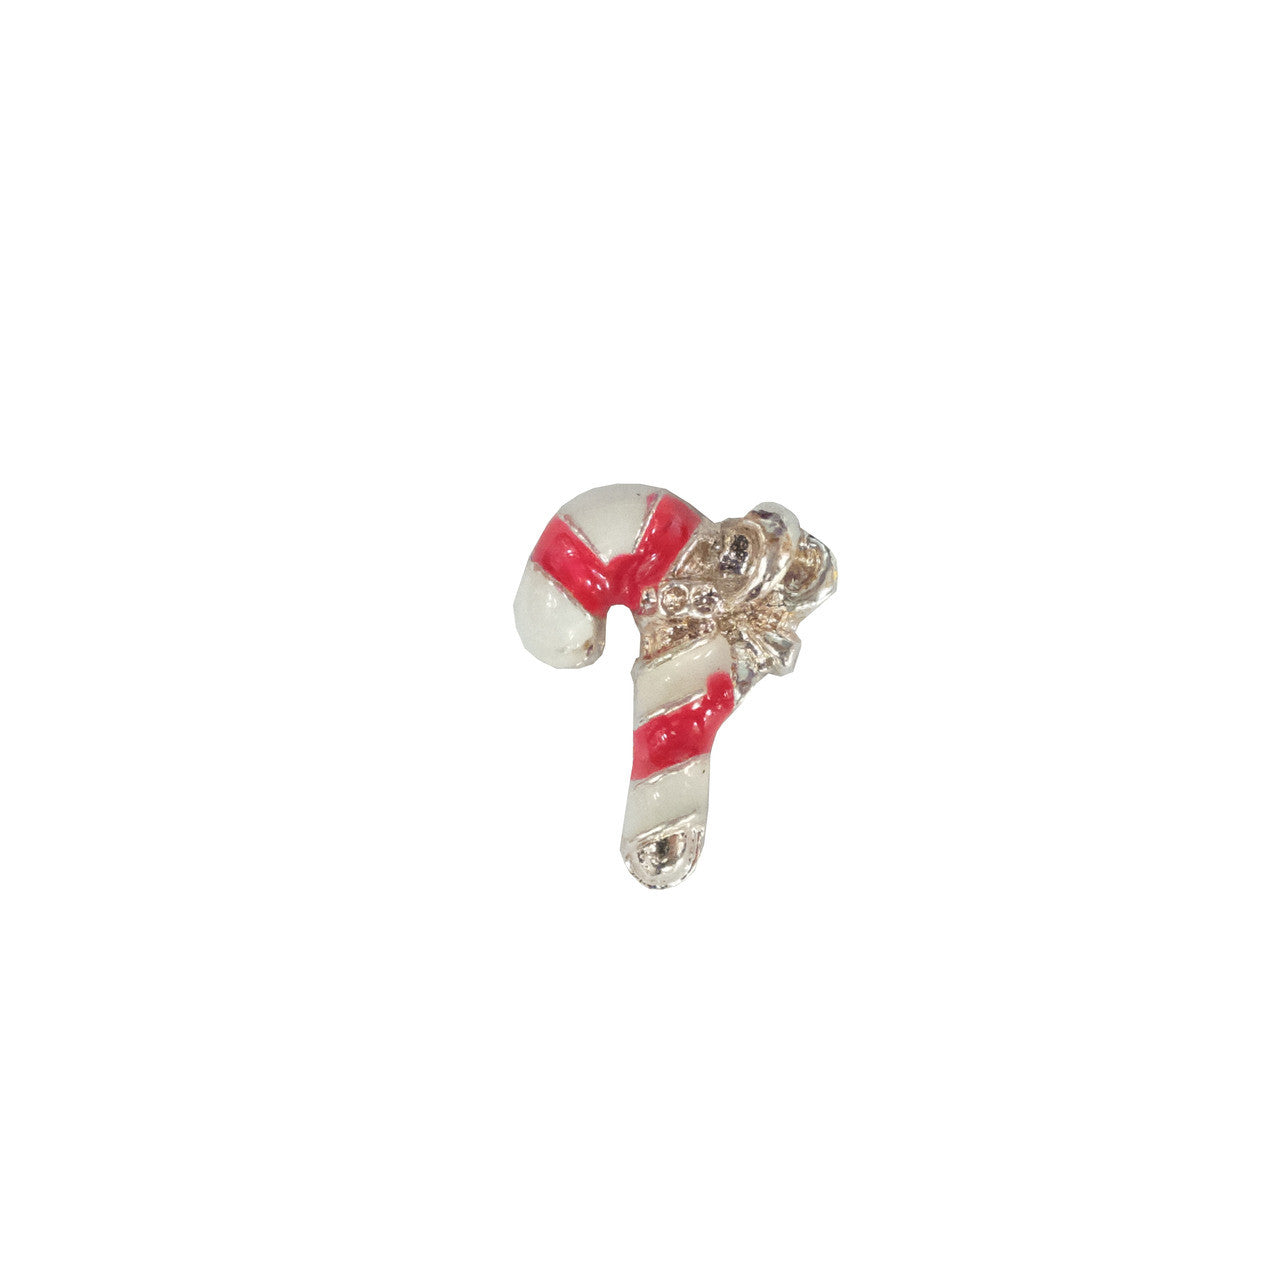
Candy Cane Charm
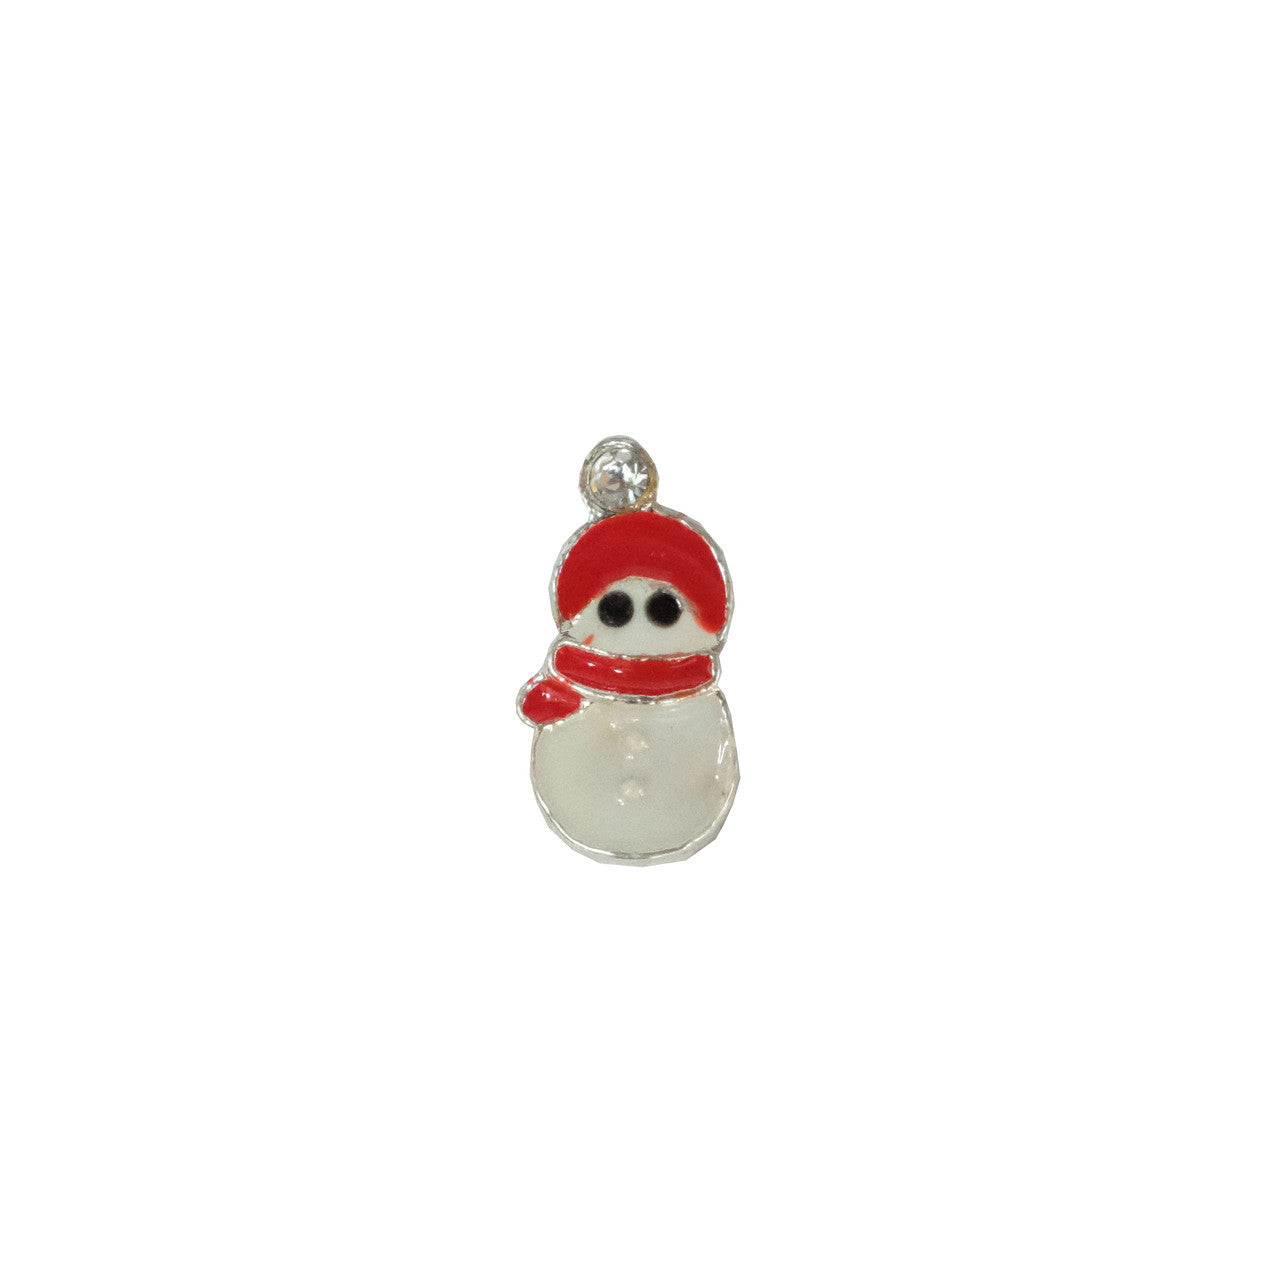
Snowman Charm

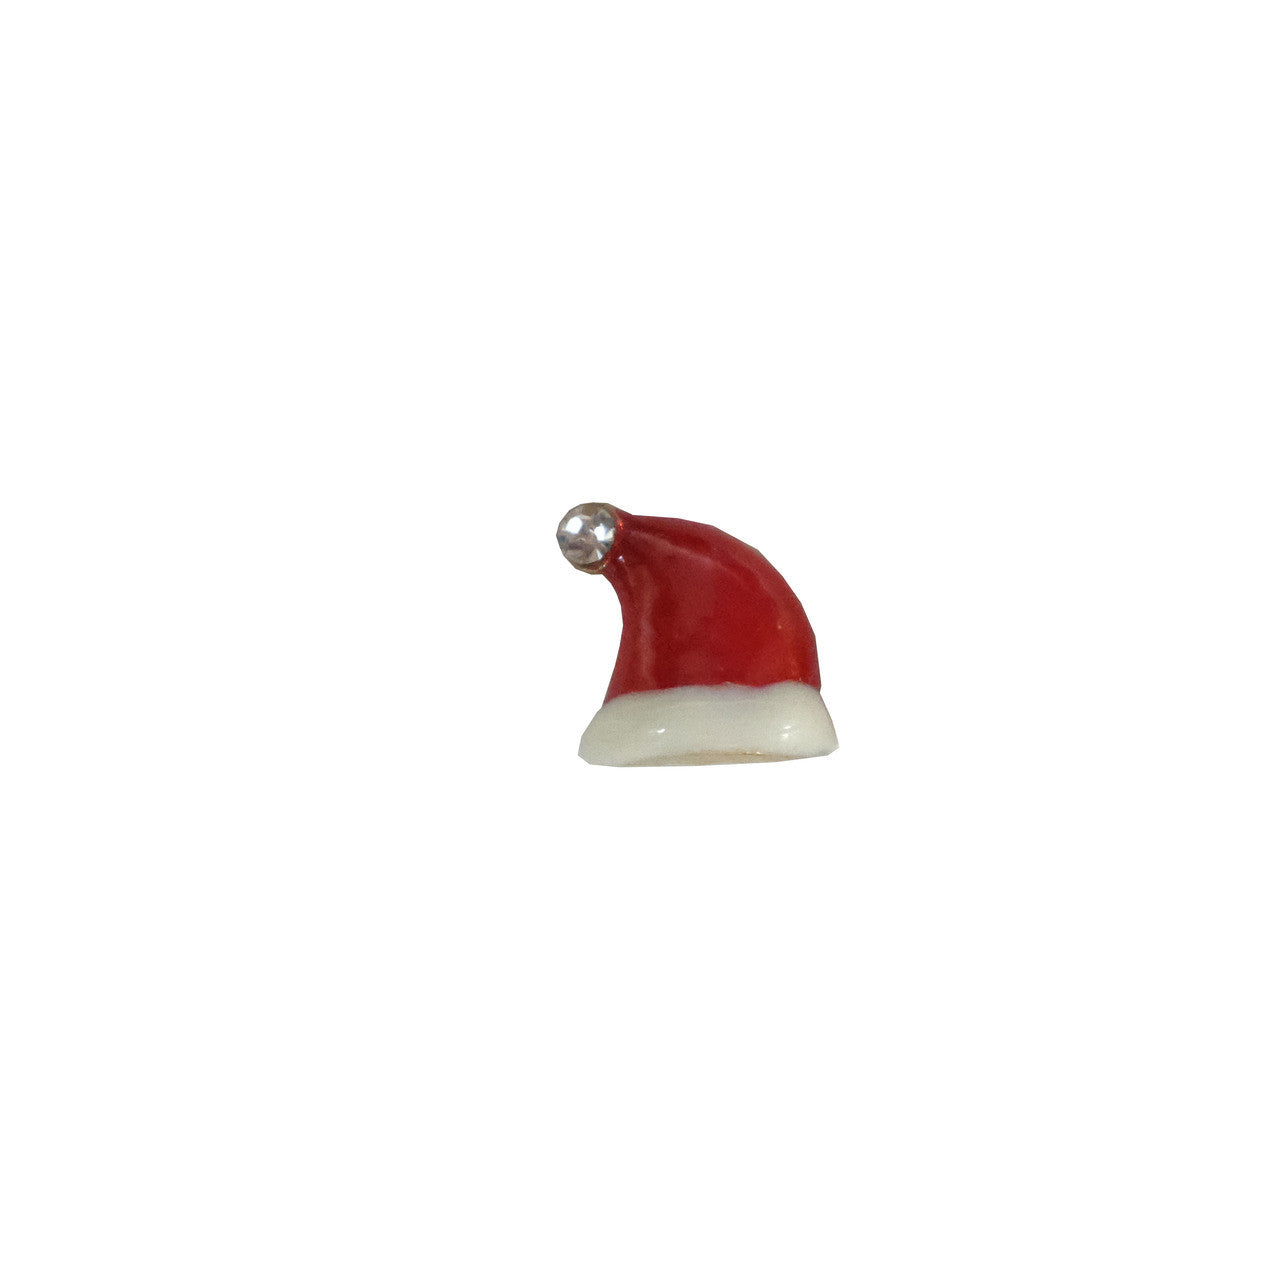
Santa Charm
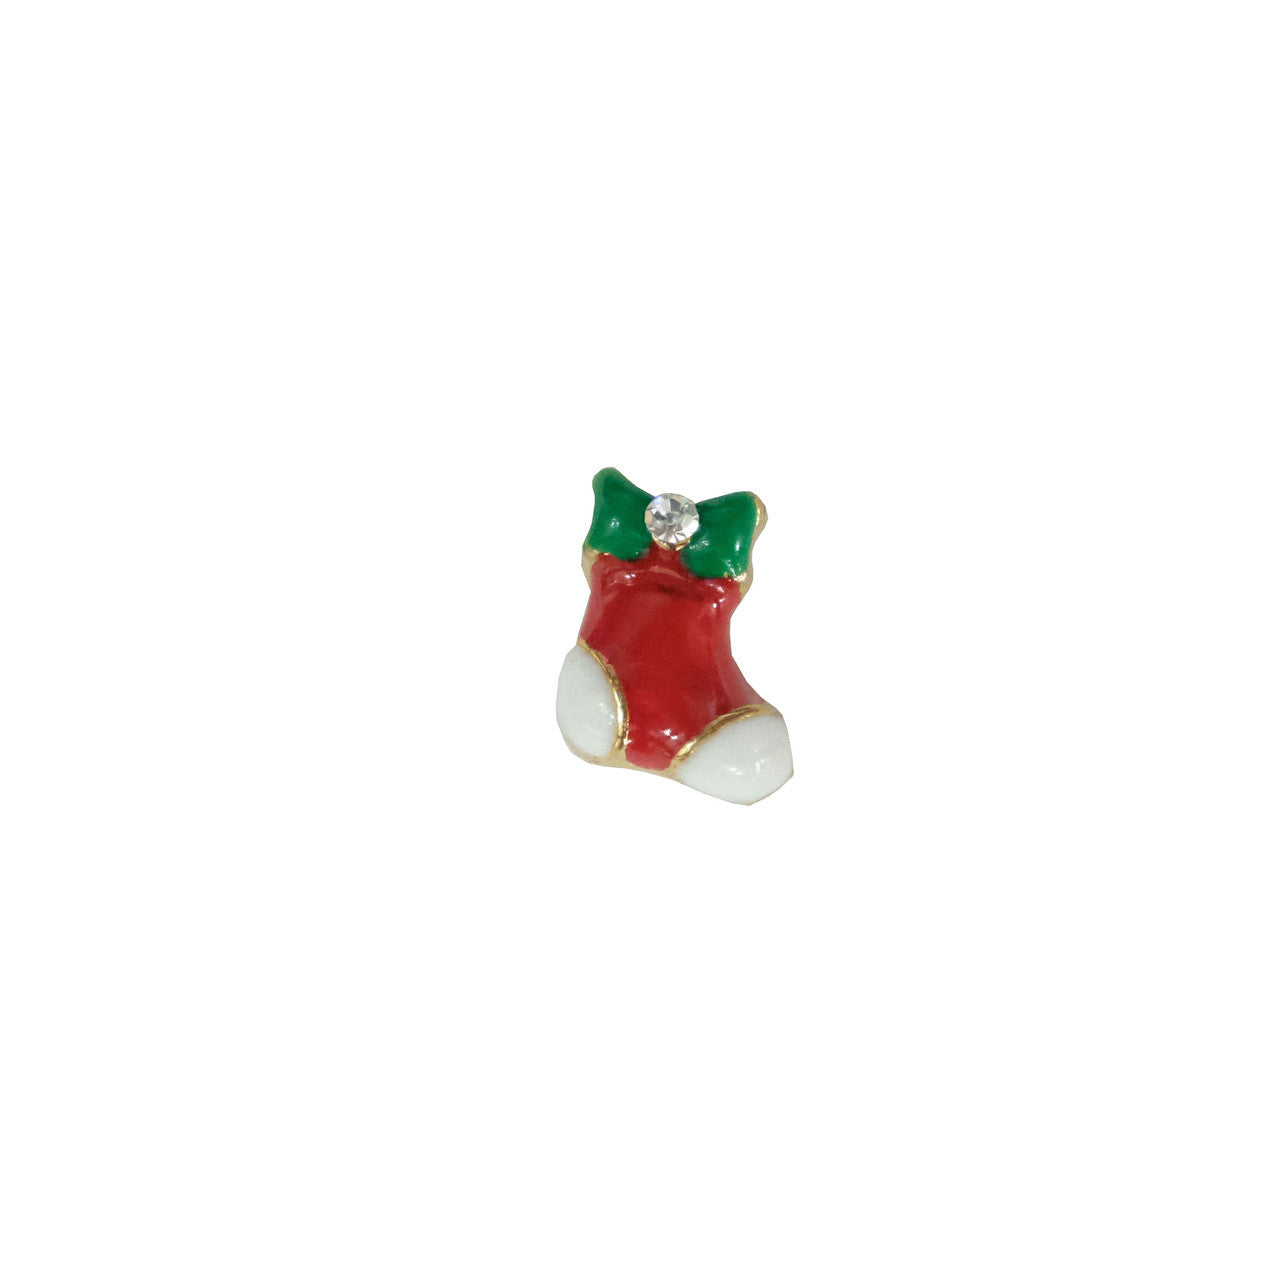
Stocking Charm
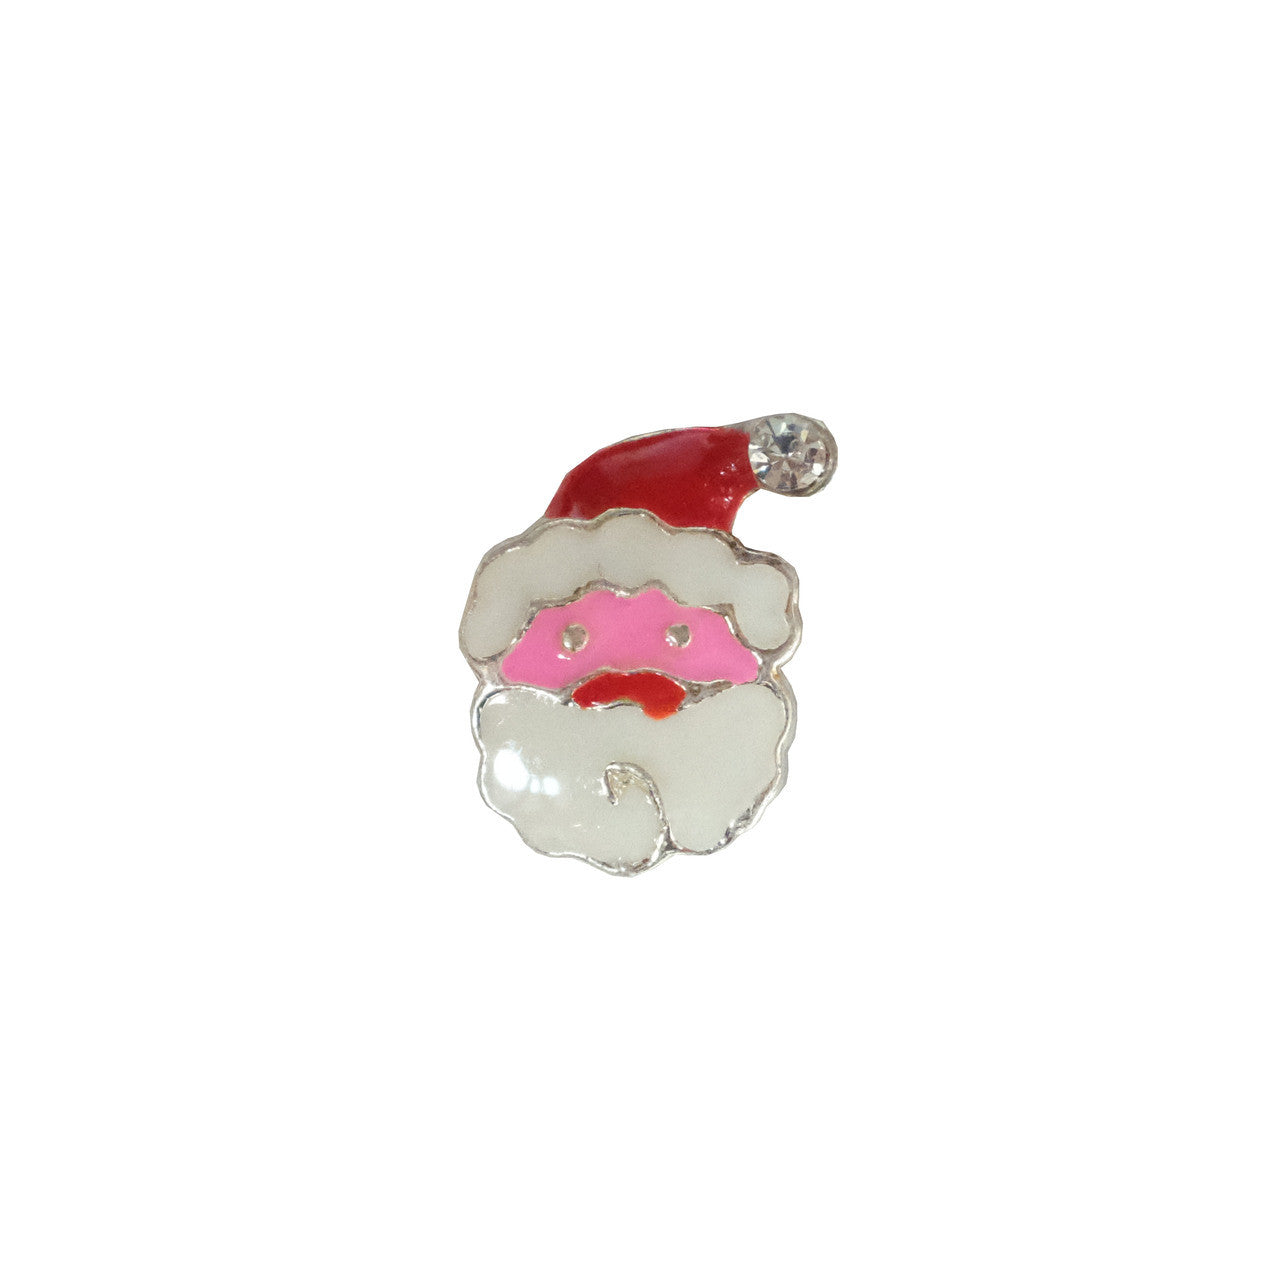
Pink Santa Charm
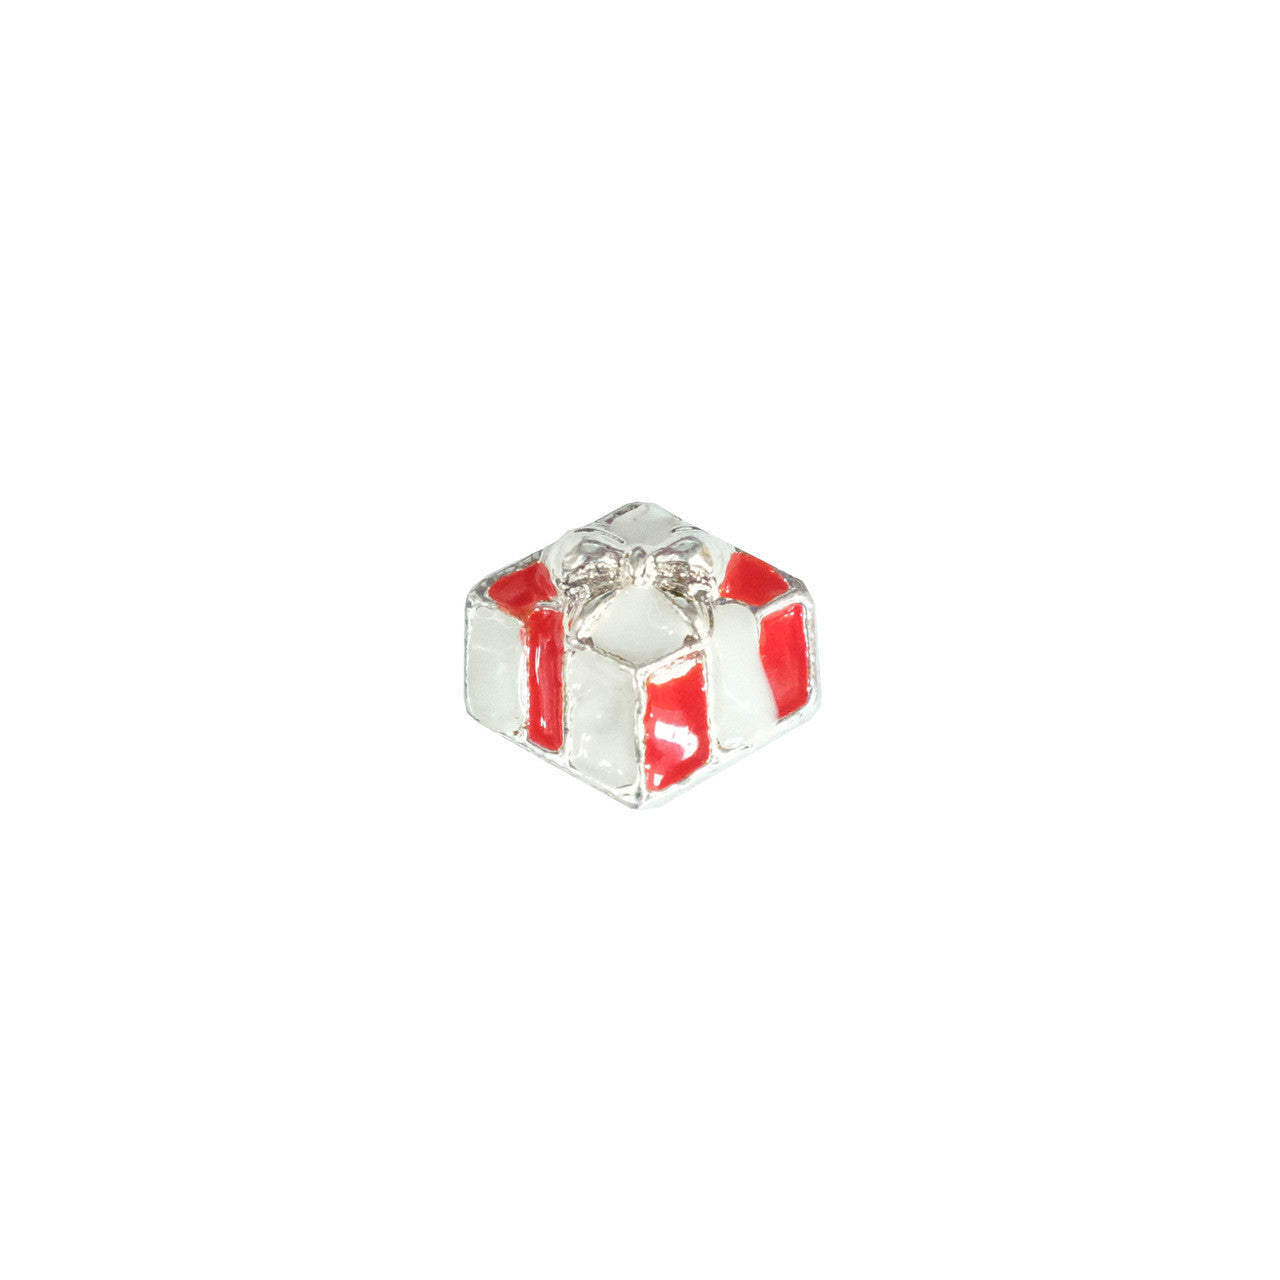
Present Charm
Nail Charms for Every Aesthetic, Occasion & Set Style
Build sets like the best stylists: mix-and-match nail charms by theme, shape, and finish, from subtle accents to centrepieces. From gold details, pastries, and flowers to crystal looks, choose the size and placement to suit the client and service. Whether for a salon or a DIY nail art charm session, here are our top picks that you'll surely love:
A crisp festive icon with a polished shine. Best on short-to-medium overlays as a single feature nail or paired with a fine glitter fade. Use it for your holiday plans and corporate parties. Pair with red, nude, or evergreen bases, plus adding a note of tiny rhinestones for balance.
Playful, wintery, and easy to style with cool tones. Works best as a one-nail centrepiece on stronger fingers where it can sit flat and secure. Pair with icy shimmer, milky whites, or blue French tips, and finish by curing the gel around the edges.
Smaller but still eye-catching, making it perfect for mixed clusters. Use it when you want a festive cue without dominating the set; think one or two nails per hand. Pair with neutral bases, micro glitter, or minimalist linework, and keep spacing so each charm reads clearly.
A clean “gift” motif that looks polished on both minimal and maximal sets. Use it as a feature on French tips, glitter gradients, or simple solid colours for speed. Pair with metallic foils or crystals, and secure with a top seal, for client gifting.
Add a dash of shining, shimmering, and splendid rhinestones to your new nail art design. This attention-grabbing charm pack recreates the mesmerising Northern Lights and is ideal for adding reflective detail over gel, acrylic, or other nail enhancement systems.
Step-by-Step Guide to Applying Nail Charms
Nail charms can be applied reliably when you follow a controlled placement process and use products compatible with your nail system. Longevity depends on surface prep, correct adhesive choice, proper curing/setting, and reinforcing the charm decoration’s edges to reduce snagging and lifting.
1) Prep the nail (foundation matters)
- Refine the nail shape and lightly buff to remove surface shine (do not over-file).
- Remove dust, then cleanse the nail plate.
- Dehydrate the surface to reduce oils and improve adhesion.
2) Complete the base structure first
- Apply your base product and gel colour.
- For gel systems, cure each layer fully according to the product instructions.
- For lacquer, allow the colour to dry completely before adding any 3D embellishments.
- If you are building a structure (builder gel/acrylic), finish the apex and surface refinement before placing charms.
3) Apply adhesive only where the charm will sit
- Place a small amount of an appropriate product (e.g.builder gel or suitable resin/adhesive) exactly at the placement point.
- Keep the product off the skin and away from the cuticle line to reduce lifting risk and irritation.
4) Position the charm
- Use tweezers or a wax pencil to place the charm into the adhesive.
- Gently press until the charm sits stably and flush where possible, with good contact to the product.
5) Set the position, then final cure/set
- If using a gel system, flash cure briefly to lock placement, then check alignment.
- Fully cure according to the gel manufacturer’s instructions, so the charm is secured before sealing.
- If using a non-UV adhesive, allow it to set fully per the product directions before proceeding.
6) Reinforce and seal the edges
- Use a thicker gel (often builder gel) to “bead” around the charm perimeter where appropriate to reinforce attachment points.
- Avoid flooding the top of the charm if it will dull facets or cover detailing.
- Apply top coat around the perimeter and over exposed gel to smooth transitions and reduce snagging, then cure fully.
Placement and charm selection guidelines
- Use nail charms as accents on nails that experience less flex (commonly the thumb or ring finger) to reduce stress on the attachment.
- On short nails or highly curved nail plates, choose smaller, flatter charms to improve contact and reduce catching.
- Avoid placing bulky pieces too close to the cuticle, sidewalls, or free edge where leverage and impact are higher.
- Keep overall height practical for the wearer’s daily activities; larger clusters are more likely to snag.
Aftercare notes (to help maintain wear)
- Do not pick at charms or edges; picking is a common cause of lifting and breakage.
- If the perimeter feels rough, lightly smooth and re-seal with an appropriate top coat (and cure fully for gel systems).
- Avoid applying cuticle oil immediately before charm placement, as oils can interfere with adhesion.
Why Beauty Professionals & Home Users Choose Our Nail Art Charms
At Diamond Nail Supplies, we’ve been supplying nail products since 2001, supporting nail artists, salon teams, and at-home creators across Australia.
- For Salon & DIY Use: Ideal for professionals finishing client sets and for home users wanting a standout, salon-style look.
- Secure Wear: Designed to stay put when applied correctly, helping reduce snagging, shifting, and premature lifting.
- Wide Style Selection: Choose from classic metallic accents, pearls, crystals, themed pieces, and statement designs to suit any aesthetic.
- Easy to Apply: Works seamlessly with gel, acrylic, and builder/soft gel systems, with minimal fuss during placement.
- Quality Craftsmanship: Made with durable materials and clean detailing for a polished, premium finish.
- Strong Value: Bulk options and curated mixes make it cost-effective for busy salons and frequent DIY use.
- Time-Efficient Detailing: Add dimension and impact in minutes without complex hand-painted techniques.
- Beginner-Friendly Results: Straightforward placement makes it achievable even if you’re new to 3D nail embellishments.
- Cruelty-Free & Vegan: We design with ethical considerations in mind; for confirmed certifications or specific claims, please check individual product packaging and documentation.
Nail Charms FAQs for Salon Owners & At-Home Nail Enthusiasts
How do I choose the right nail charms for my nail shape and length?
Match charm size to the available surface area so the nail still feels balanced and wearable. Shorter nails generally suit smaller charms or a single focal piece, while longer shapes (almond, coffin, stiletto) can carry more dramatic designs. For best results, position charms where they won’t overhang the sidewalls or sit too close to the cuticle line.
Can beginners successfully apply nail charms at home?
Yes. Beginners can achieve impressive results with the right tools, a steady approach, and a reliable adhesive or gel system. Start with smaller pieces, place one accent nail at a time, and focus on secure attachment before adding more complexity. If you need to remove or redo a charm, it’s manageable with careful filing/soaking, depending on the product and base system.
How do nail charms work with nail art and extensions?
Nail charms act as a finishing layer that transforms an extension or colour set into a detailed design. They pair well with gel polish, builder gel, acrylic, chrome, and encapsulation techniques, giving you endless creative options. Whether you’re creating subtle luxury accents or full statement sets, charms provide a strong visual centrepiece and a high-impact result.
How long do nail charms typically last?
When applied correctly, nail charms can last as long as the underlying manicure or enhancement. As a general guide, gel manicures commonly last around 2–3 weeks, and acrylic sets often need a fill in roughly 2–3 weeks (depending on growth and lifestyle). Heavy water exposure, frequent impact, and picking can shorten wear time, while proper prep and secure sealing can extend longevity.
Shop Premium Nail Charms Now & Create Standout Sets Today!
Explore our complete nail charms collection and see why customers across Australia choose Diamond Nail Supplies for results that look polished and perform in real life. Whether you’re building a busy salon service menu, upgrading your finishing touches, or levelling up your DIY sets at home, quality details make the difference.
Add your favourite nail charms to your cart today and bring your next manicure vision to life. Shop online or visit our store and look at our reviews, place your order, and experience the impact that professional-grade embellishments can deliver.